foundation-calculate-library

Create a dotnet Standard Library (Step-By-Step)

When people uses term .NET, it greatly depends on the context. There is a distinction between C# and .NET as C# is a programing language syntax that can be used to reference and call methods defined in .NET code libraries or assemblies. We can create an assembly from our C# code and use it’s compiler that’s installed with .NET SDK.

Read more about What is .NET?

.Net standard library can target a number of different platforms. for example, Android, iOS, Linux, Windows etc so In this blog post, We will create a dotnet standard library in an easy way. It will be a very standard class library to demo something. This library will contain two super helpful methods. One method adds two number together and other subtracts one number from the other.

Create a dotnet Standard Library

We will create this library in such a way so it can be used to publish as NuGet package in Azure Artifacts.


Prerequisites

  • Visual Studio 2019 (If you are following along this blog post)
1. Launch new instance of Visual Studio > Click Create a New Project as shown in Figure 1.
create-new-proj
Figure 1 – Create New Project
2. Search for Class Library to select .NET Standard Library as shown in Figure 2.


c#-class-.net-standard-library
Figure 2 – Select .NET Library
3. Fill in the required fields > Set Name to HelperLibrary > Solution Name to NuGetDemo and Click Next


configure-new-project
Figure 3 – New Project and Solution Name
4. Select .NET Core 3.1 as Target Framework and Click Create


dotnet-core-target-framework
Figure 4 – .NET Core Target Framework
5. Once we click on Create, we’ll delete the Class1 that creates by default. **Right Click** to delete the class.


delete-default-class
Figure 5 – Delete Default Class
Now we will set the namespace for our project. You can leave the default value as it is but I’m going to change it to “ACloudTechie.Artifact” so it looks little bit different. It means, every class from now on will get the “ACloudTechie.Artifact” as a namespace.
6. Now, Right Click on Project (HelperLibrary) file and Select Properties.
7. Set Default namespace as ACloudTechie.Artifact and Click Save.


set-default-namespace
Figure 6 – Set Default Namespace
8. Right Click on Project node and add new Folder. Set the name to Calculate6
9. Add new Class as this will be very standard class library to demo something.


add-new-class
Figure 7 – Add New Class
10. Set Class name to Calculate and click on Add


class-calculate
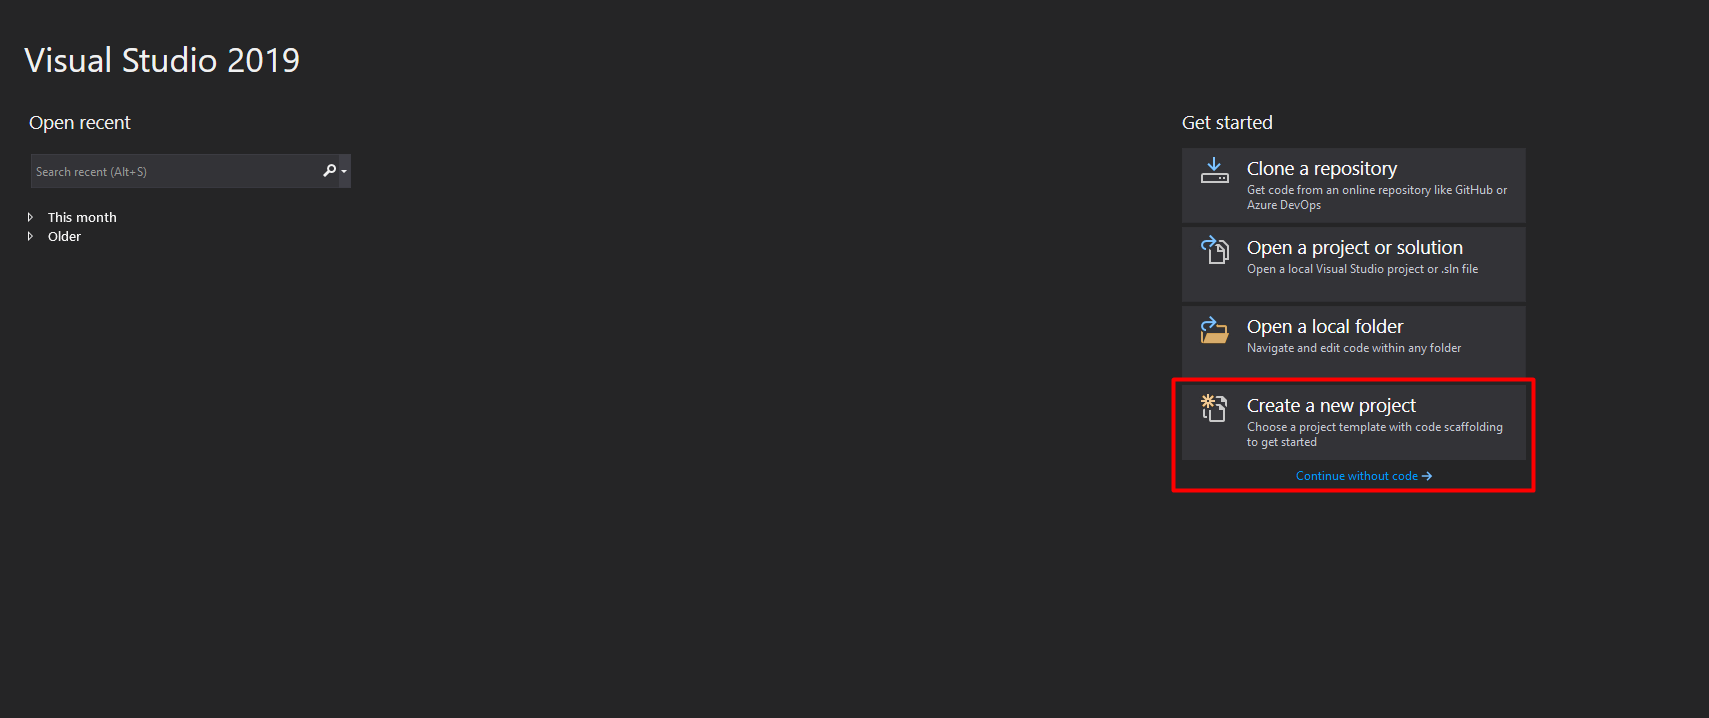
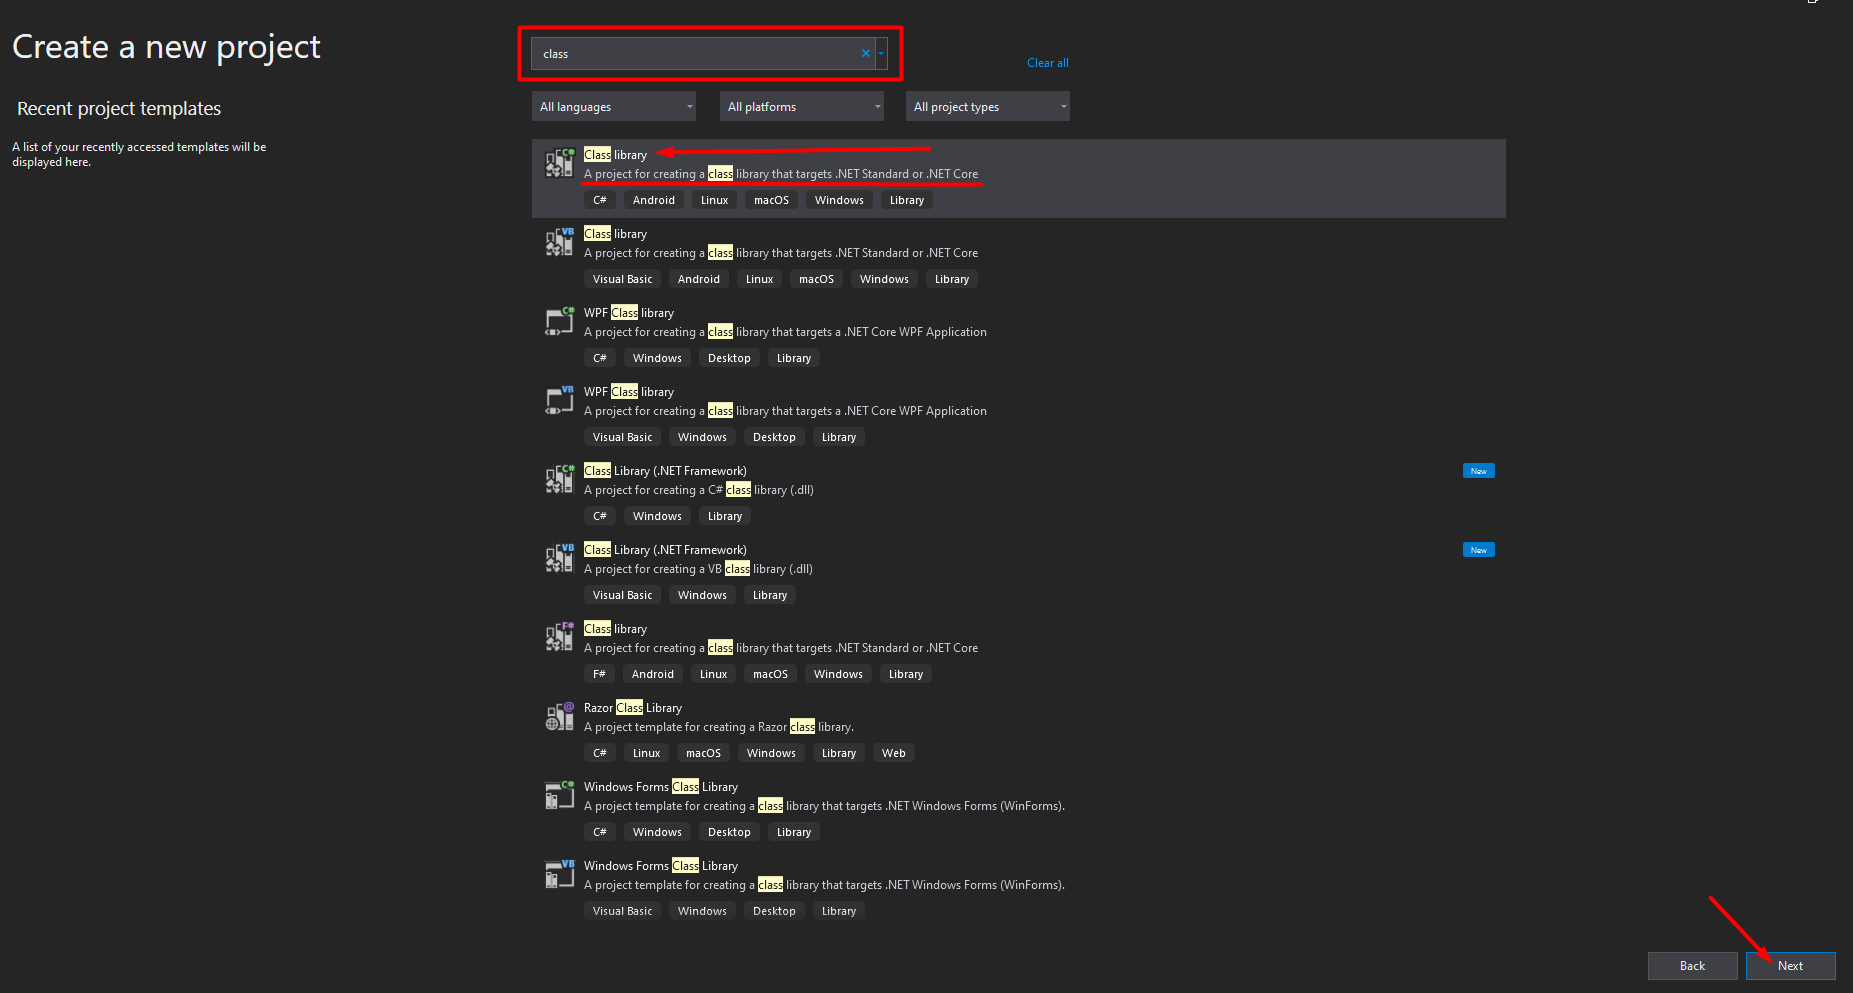
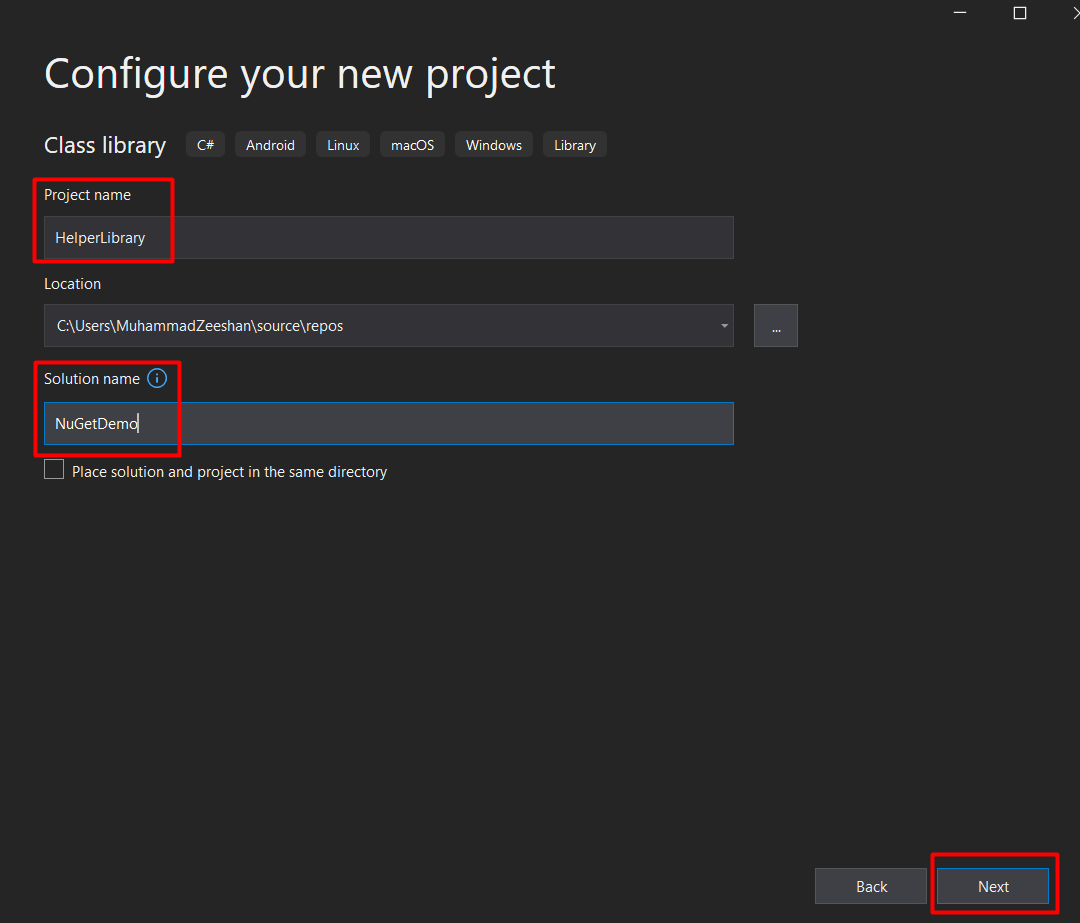
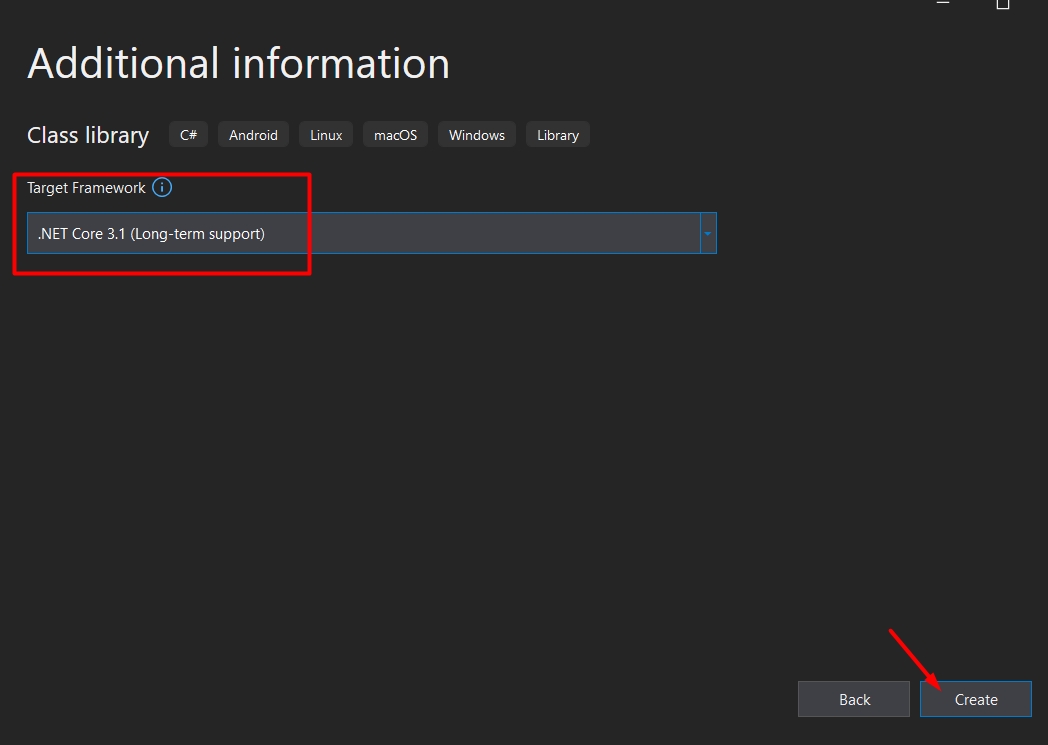
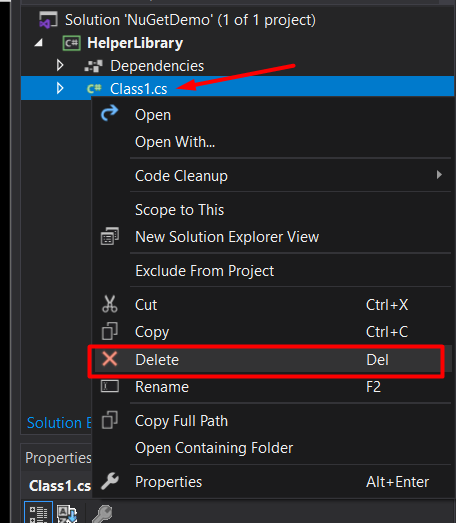
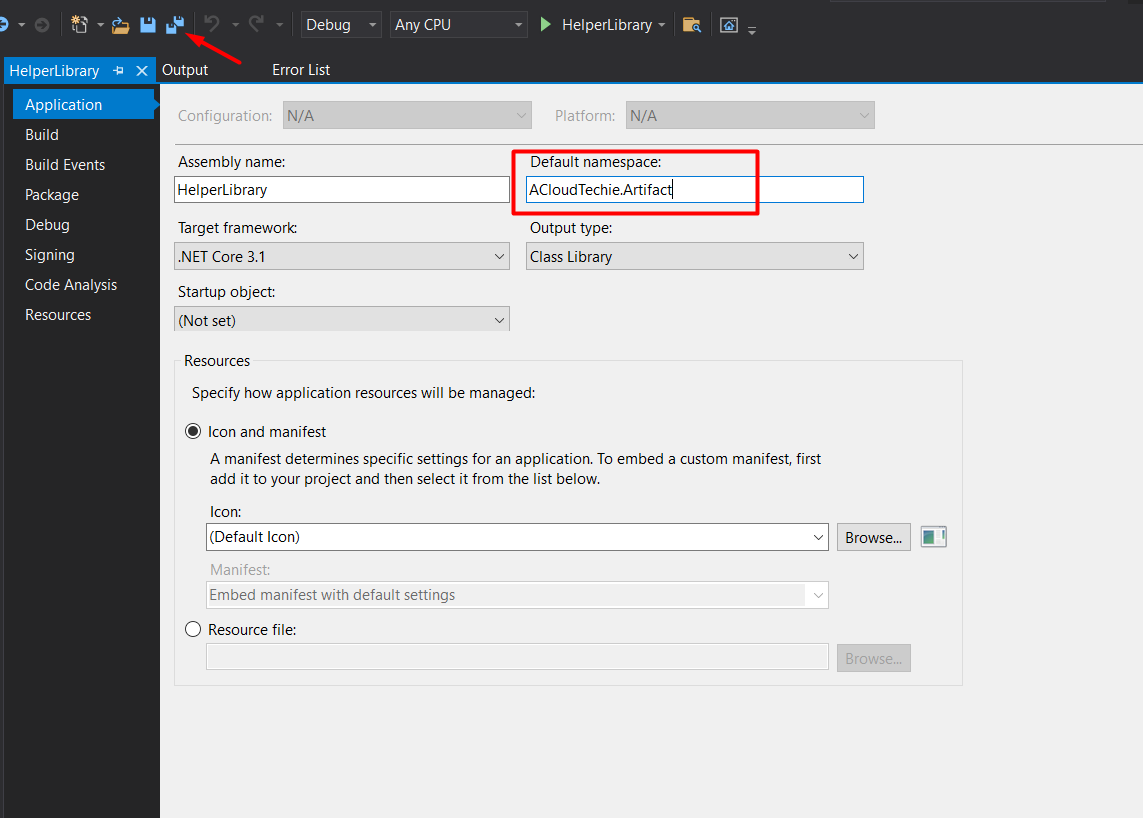
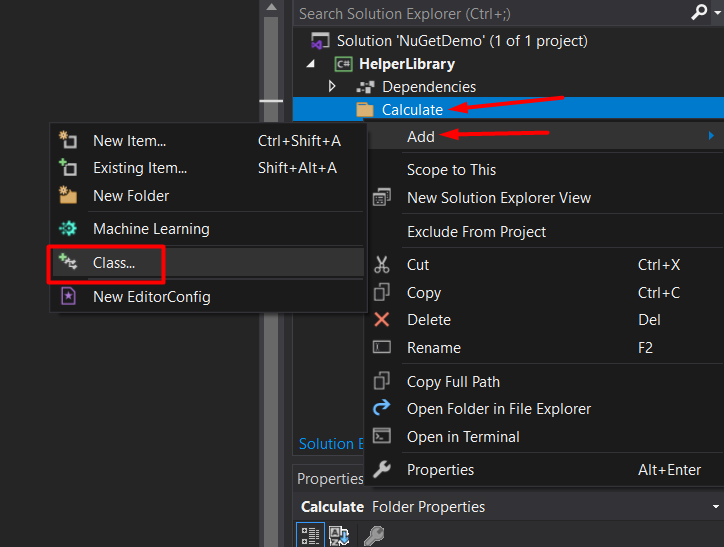
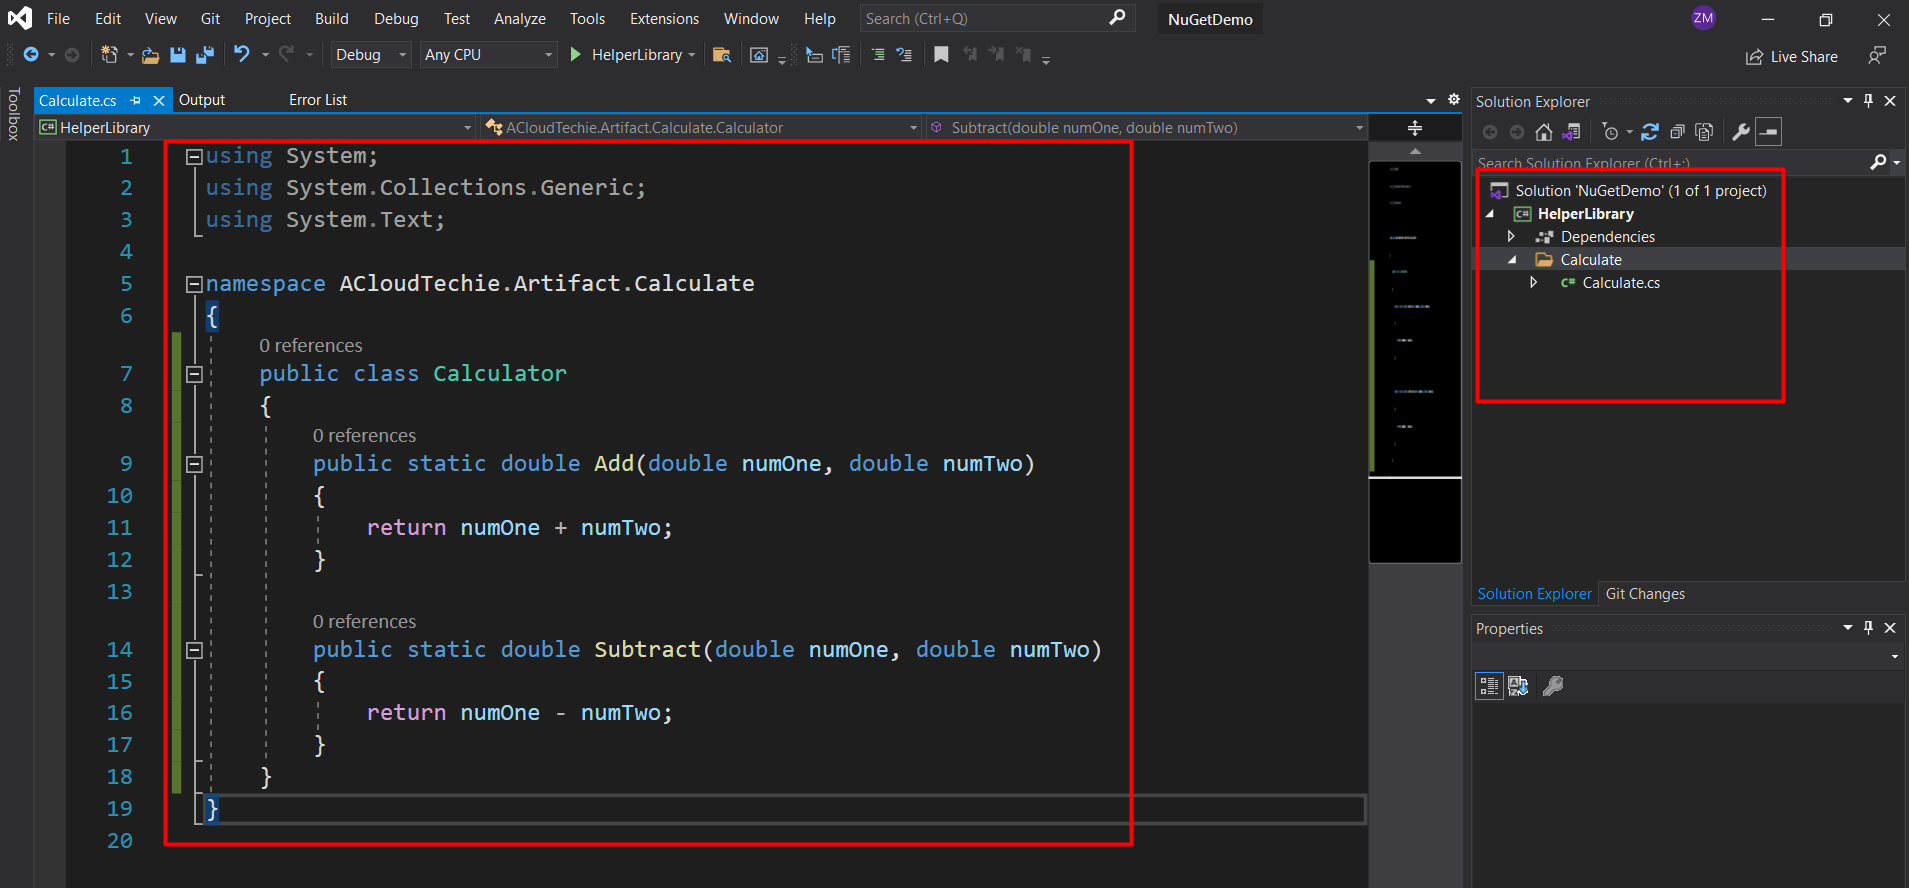
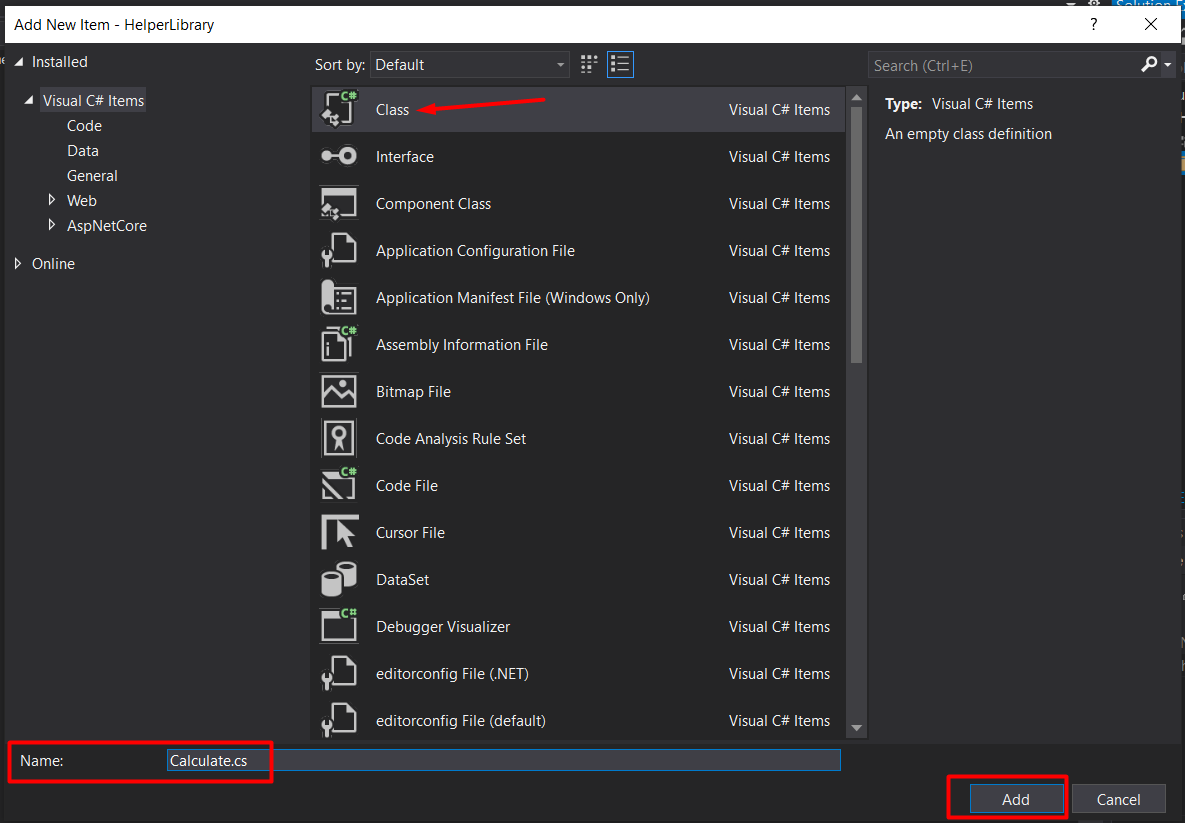
Figure 8 – Class named as Calculate


Let’s Start some coding!

This class will contain two super helpful methods. One method adds two number together and other subtracts one number from the other.


Code Snippet

using System;
using System.Collections.Generic;
using System.Text;

namespace ACloudTechie.Artifact.Calculate
{
    public class Calculator
    {
        public static double Add(double numOne, double numTwo)
        {
            return numOne + numTwo;
        }
        public static double Subtract(double numOne, double numTwo)
        {
            return numOne - numTwo;
        }
    }
}
11. Now, foundation of our library has been setup.


foundation-calculate-library
Figure 9 – Foundation of Library

Conclusion

In this post, we went through about What is .NET and how we can create a dotnet Standard Library that can also be used as a NuGet Package. In our next post, we will see how to compile and use it as Helper library.
Thank you for reading!

Leave a Comment

Your email address will not be published. Required fields are marked *